

Instructions for Hik Vision (New Style)
At Phase 3 Security, we believe in offering quality professional security products including alarm and video surveillance systems. Here, you can find instructions for Hik Vision (New Style) model. Call us today for more information.
For Hik Vision (New Style)

Using left-click, click and drag your mouse to enter your password


A: On the left you’ll see a list of your cameras. Select the ones you’d like to playback/record footage from
B: Here is the calendar where you’ll select the date in which you’re grabbing footage from.
C: Here is the slider to change the time intervals for the playback. (Makes it easier to find footage if you know the specific time)


BEFORE YOU GET TOO FAR
You must have a USB drive plugged in and have a Player on it (Two usb ports on the NVR, one on the front, one in the back)
If you already have the player, continue to the next page.
1. At the bottom left, click the start clip button
(don't bother with selecting footage as it’ll disappear in a moment)
2. Click the export button
and choose “Player” then press “ok”
3. Click “ok” once again and it will put a .zip folder onto the USB

At the bottom left portion of the screen you’ll see the
You can also put the exact date, start and end time if you click the


Once you see a checkmark you may pull out the drive and bring it to a PC
.png)


.png)
.png)
For Hik-Connect (Mobile Phone)


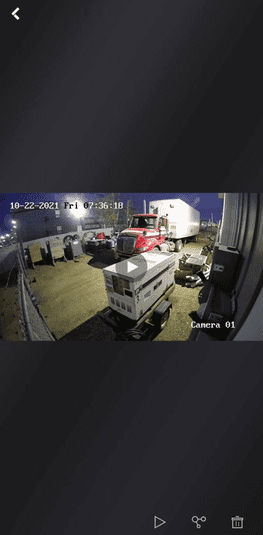
Open the App and Click the picture of the NVR itself


.png)
Go to the beginning of the clip that you want to record
Press the camera icon to start, play through until you’d like to end the clip and press the camera icon again to stop.
Head back to the main screen to see your clip.vv

Tap on the “More” tab at the bottom right, then “Pictures and Videos”
Find your clip you’d like to share, tap on it.
At the bottom right on the screen you’ll see the share button
On the iPhone you’ll also see a save icon. This will save the video directly to your gallery on your phone (Samsung/Android does this automatically after clip)